Pun intended.
One of our kids really struggles with sleep. She either can’t fall asleep at night or wakes frequently. She’s also a sleep walker. She’s on the Feingold diet which helps a lot. The amino acids 5HTP and GABA help a lot, too, but I did not want her to be dependent on them forever. I was due to upgrade Ty’s weighted lap pad that he sleeps under to a full-sized blanket, so I decided to make another one to see if it helped our daughter.
True to form, for me, I made one and then looked up a how-to. It turns out mine is nothing like the few tutorials I saw. My creation is a little simpler to make but may not be as washable depending on the weight. At 2 pounds, I could wash Ty’s. The other one I made is 10 pounds. I’ll have to spot clean that one 🙂
Disclaimer: I’m sure this blanket would be considered a safety hazard in some way by experts. Make it and use it an your own risk using your best judgement. I recommend finding a qualified Occupational Therapist to help you address any sensory needs and to find a weighted product that is right for your situation. The rule of thumb I use for blankets is 10% of body weight.
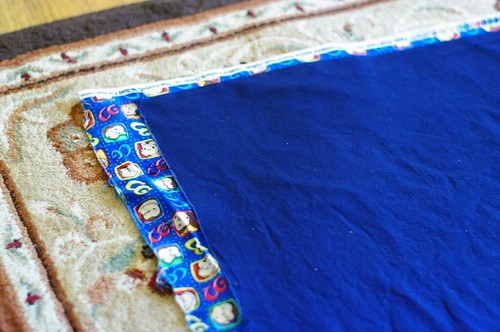
- Choose fabric. This is the best part (besides being finished). We used a pattern of choice on one side and a plain, coordinating color on the back side. Our fabric was about 42″ wide and I used about 2.5 yards.
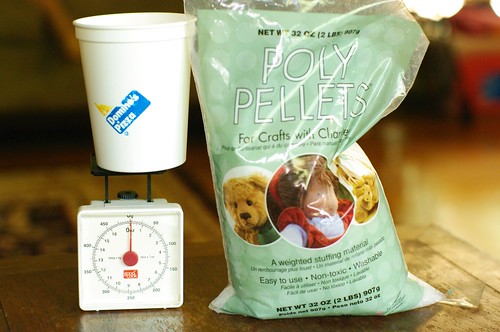
- Buy filler. I used poly-fill beads meant for stuffed animals. They had them at JoAnn’s in 2 pound bags. I had a lot of coupons. Otherwise, you can get them on Amazon
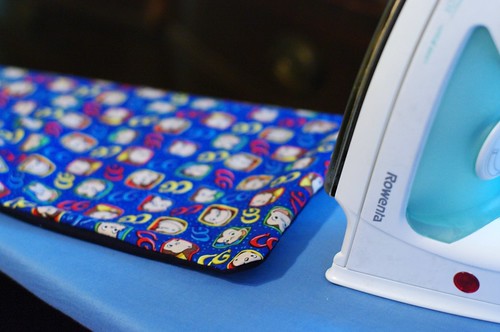
for a decent price. - Wash and iron fabric. Pre-washing takes care of shrinkage if needed. Make sure to at least iron the edges which usually fold in weird ways during washing.
- Place fabric right sides together. Trim if needed.
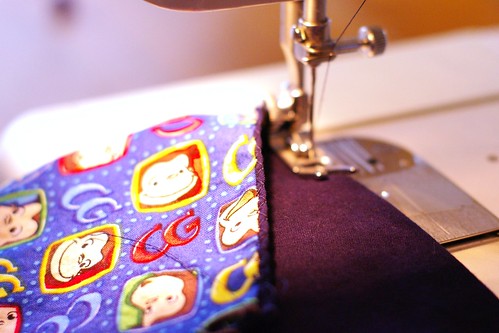
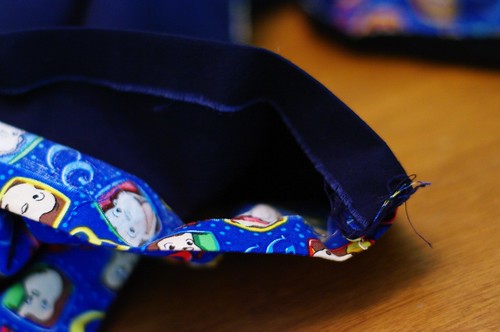
- Sew 3 sides together. Leave one of the short sides open. I used between 1/4″ an 1/2″ seam allowance.
- Turn right side out and iron. To reinforce the edges, I went back and double stitched the seams with a zig zag stitch along the edges after ironing. While you’re ironing, turn in the raw edges about 1/4″ and iron flat.
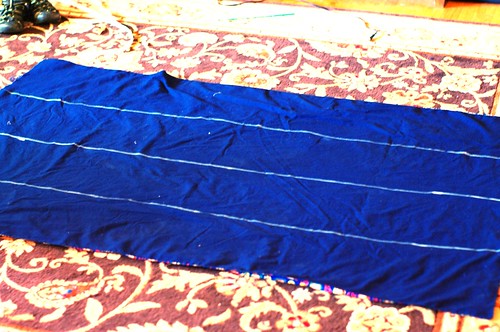
- Mark and sew the long sections. I just measured the length and width of the finished case and arbitrarily chose section sizes based on which numbers made for easy math. I marked AND sewed just the length first.
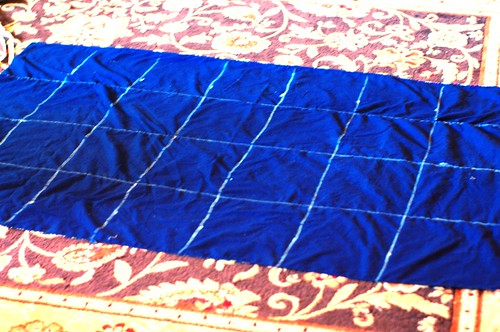
- Mark (DO NOT SEW) the short sections.
- Divide the beads. Divide the weight of your beads (in ounces) by the number of sections. Then you’ll know how much to put in each pocket. I used a kitchen scale to measure the beads out. Make sure to zero the scale with the container on it.
- Stuff the blanket. In each column put the corrent amount of beads for one section. Shake the beads down to the bottom. Sew the first row closed. Be sure to keep the beads at the bottom. It takes a little practice. I spilled beads all over my dining room during transport to sew the first section. Repeat for each row. When you get to the last row, finish off with a zig zag stich to close the two iron-hemmed pieces together.
VOILA!
The verdict? The kids to seem to love them, and sleep has been better. Whether it’s the actual blankets or psychological is yet to be determined.